Homemade Sourdough Bagels
Sourdough bagels have become one of those things I always try to keep stocked in our freezer. There’s just something comforting about knowing a nourishing, homemade breakfast or snack is always within reach – especially on busy mornings. They’re simple, filling, and have quickly become a staple in our home.
One of the reasons I love sourdough is how much easier it is on digestion compared to conventional bread. The fermentation process helps break down gluten and phytic acid, making it more nourishing and gentler on the gut.
I usually make a double batch at a time, then cut, cool, and freeze them so they’re always ready for us! I have experimented with toppings before baking them (which you can totally do!) but I prefer to top them as I toast them out of the freezer based on what sounds good that day. I always make mine plain and top with butter, cream cheese, and everything bagel seasoning after toasting them.
INGREDIENTS:
Bagels
100g active sourdough starter (about ½ cup)
260g water (almost 1 1/4 cup)
40g honey (about 2 tbsp)
10g salt (about 2 tsp)
500g bread flour (about 3 1/2 cups)
Water Bath
6 cups water
1 tbsp sugar
NOTE: A stand mixer is not required for this recipe, but it sure makes it a heck of a lot easier! Also if you have a warmer kitchen, you might want to form the dough the morning of and bake it later that evening. When my kitchen is super cold in the winter time it works for me to form the dough the night before and bake in the morning.
The Night Before:
The night before I plan to bake these, I start by putting the sourdough starter, water, honey, and salt into the stand mixer. I mix that well with a spoon. Then, I add bread flour and mix for 6 minutes at the lowest speed with the dough hook attachment. Once it is all mixed it should form a well combined dough ball (mine is usually stuck together on the dough hook which is normal). Simply cover the dough ball in the stand mixer bowl with plastic wrap sealed tight. Leave the dough on the counter overnight to rise.
In the Morning:
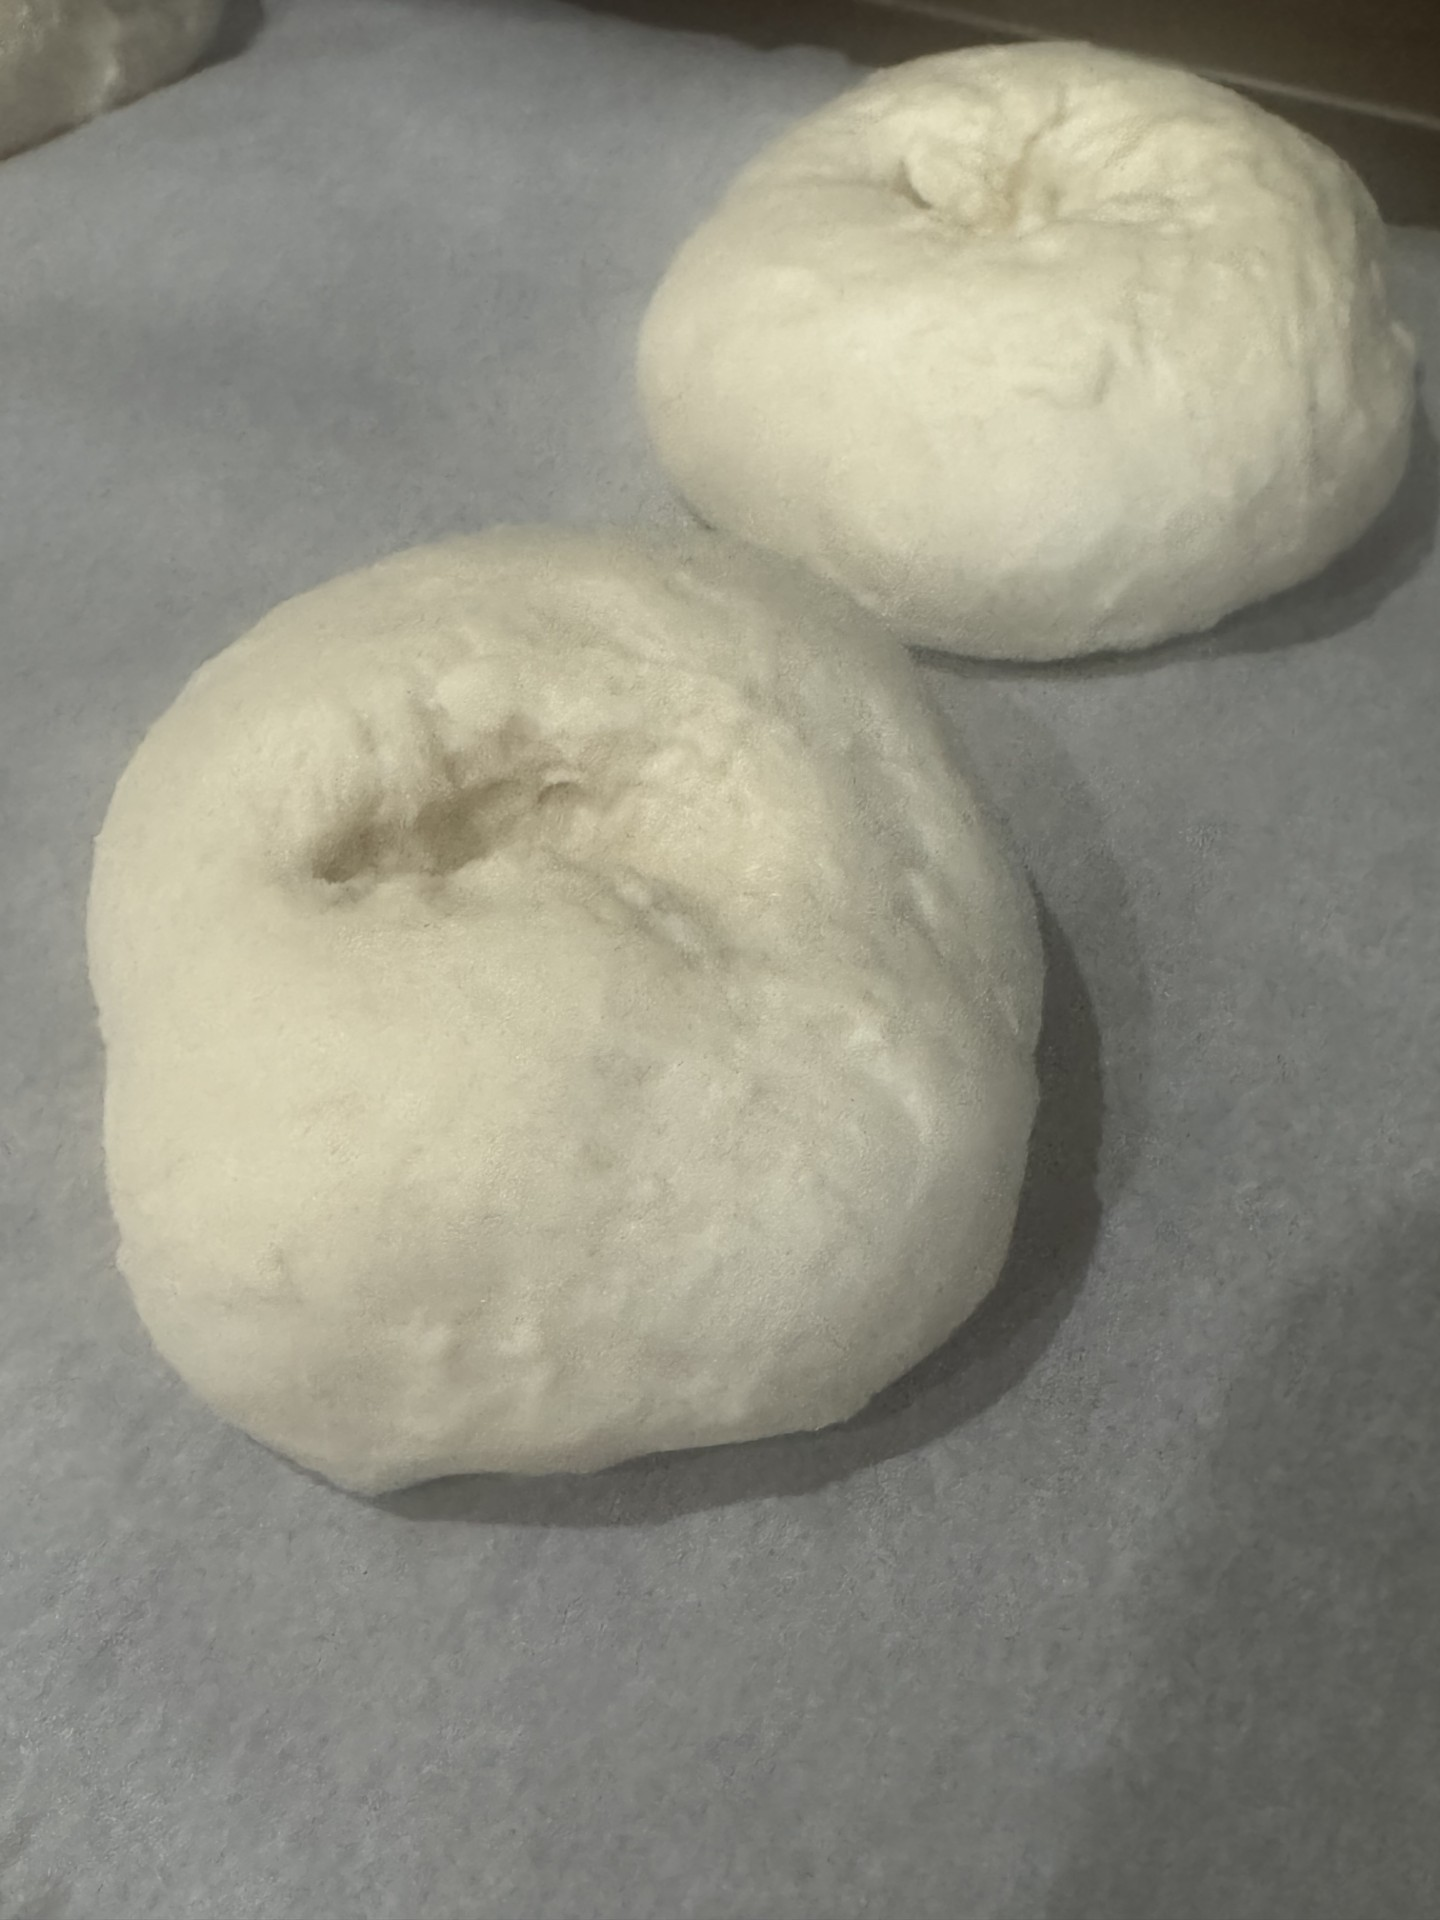
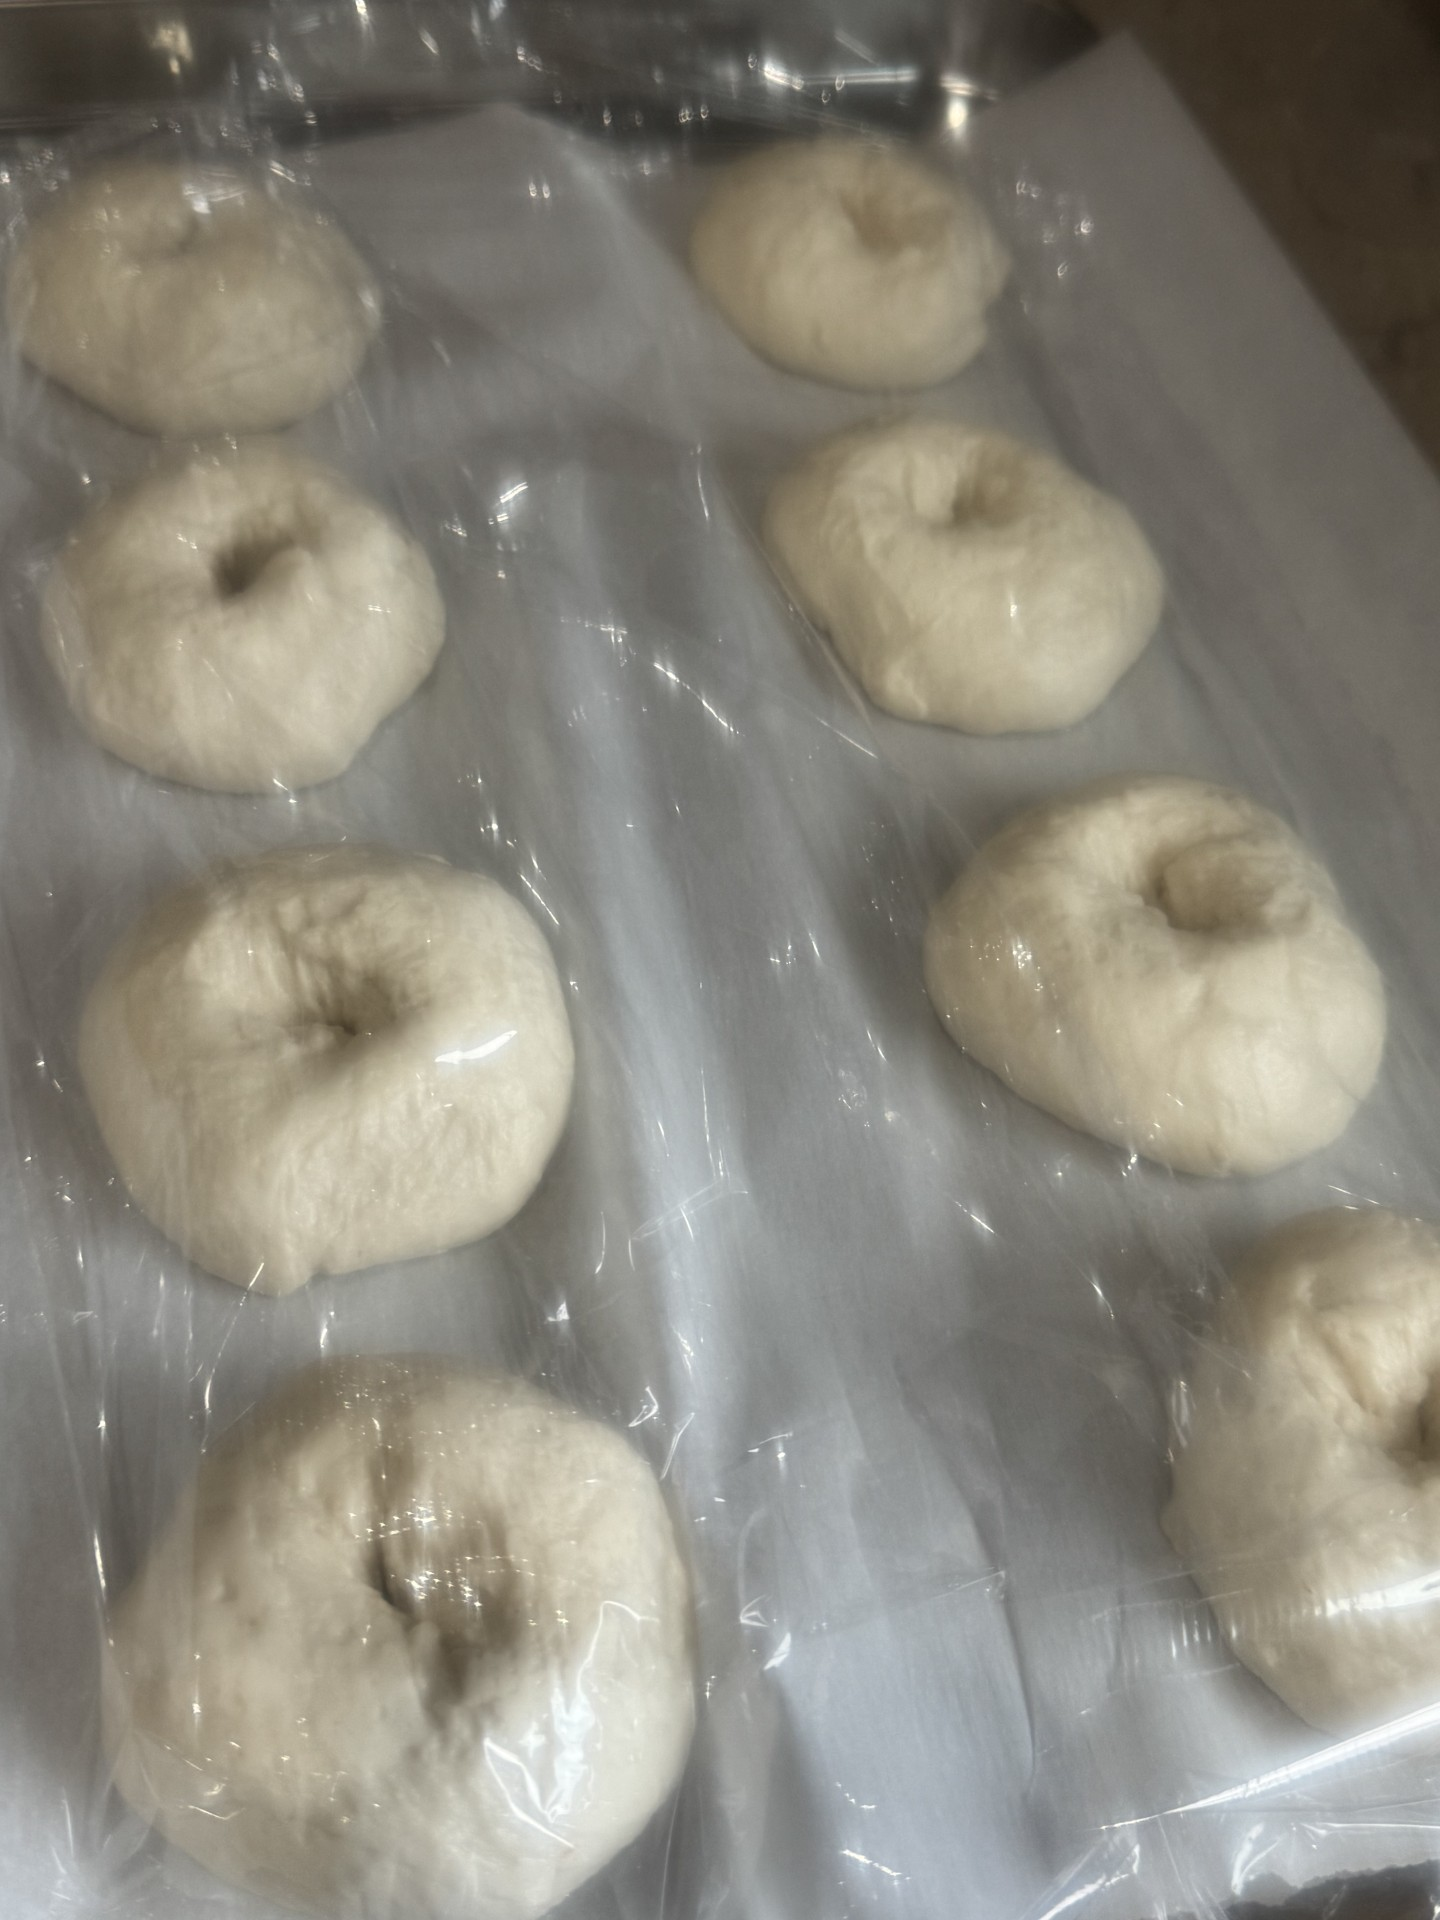
The next morning, I separate the dough ball into 8 equal parts (or 16 if you choose to double the recipe above). I sometimes eyeball the 8 parts, and I sometimes weigh it out. Either way works perfectly fine! Then I shape each bagel. I fold all 4 sides of the dough over each other to shape the dough into a ball. Then, I flatten it just a touch and poke a hole in the center with my thumb. Then I turn the bagel around as I continue shaping to make it somewhat smooth. Lay each bagel on a sheet pan with parchment paper down first. Cover the pan with plastic wrap or a towel to let it rise for about 30 more minutes.
Water Bath:
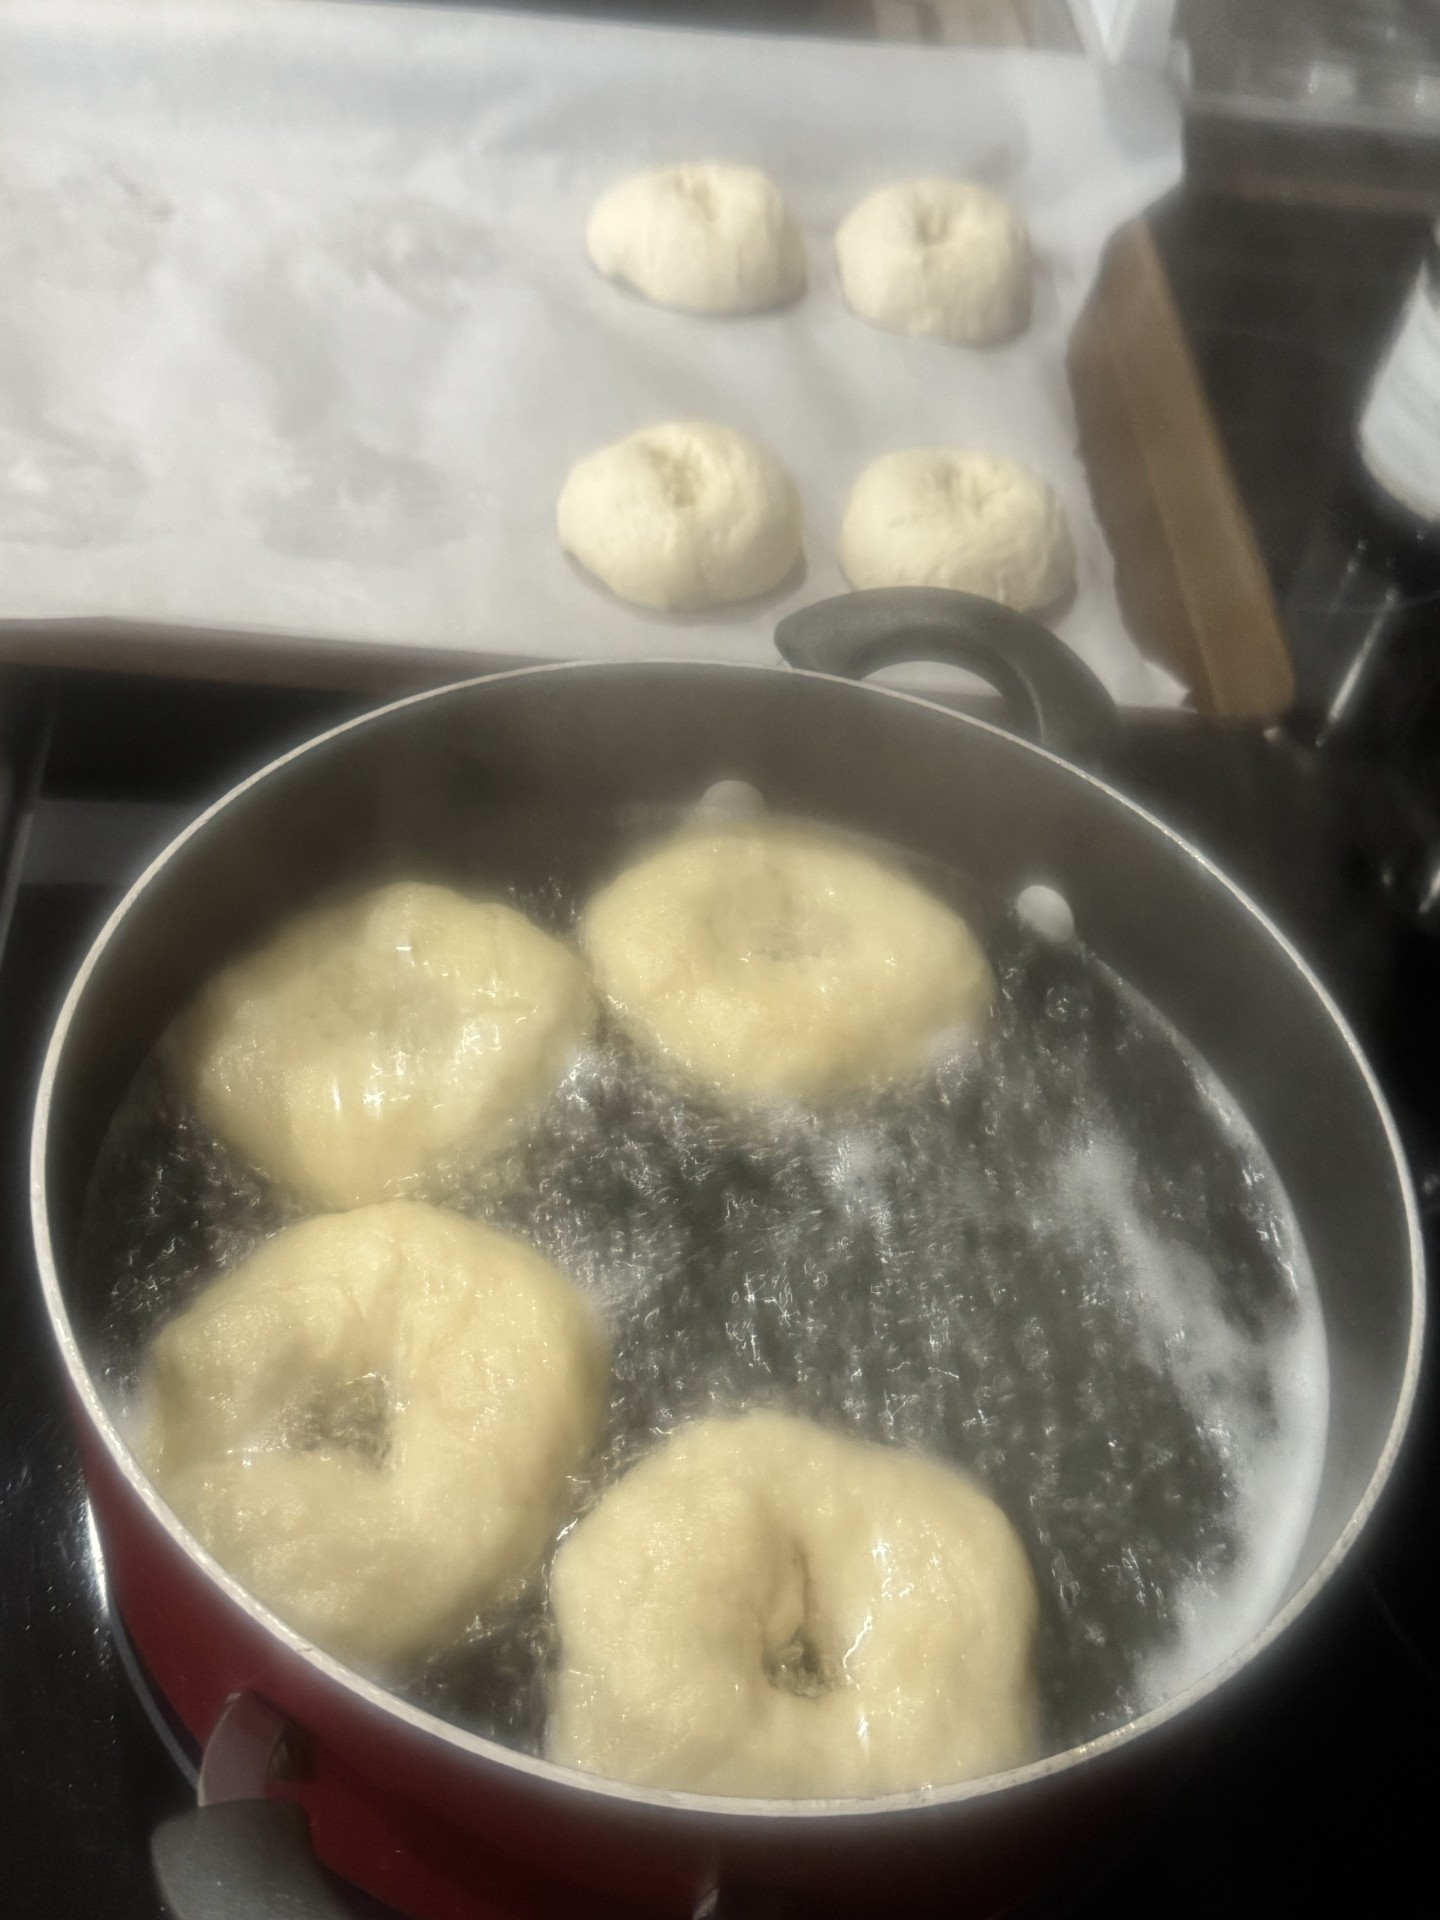
Once the bagels have risen for about 30 minutes it is time for the water bath. Bring 6 cups of water and 1 tbsp of sugar to a boil. Put in 4 bagels at a time for a total of 4 minutes, 2 minutes on each side. Carefully take out each bagel and put back on the parchment papered pan.
Bake:
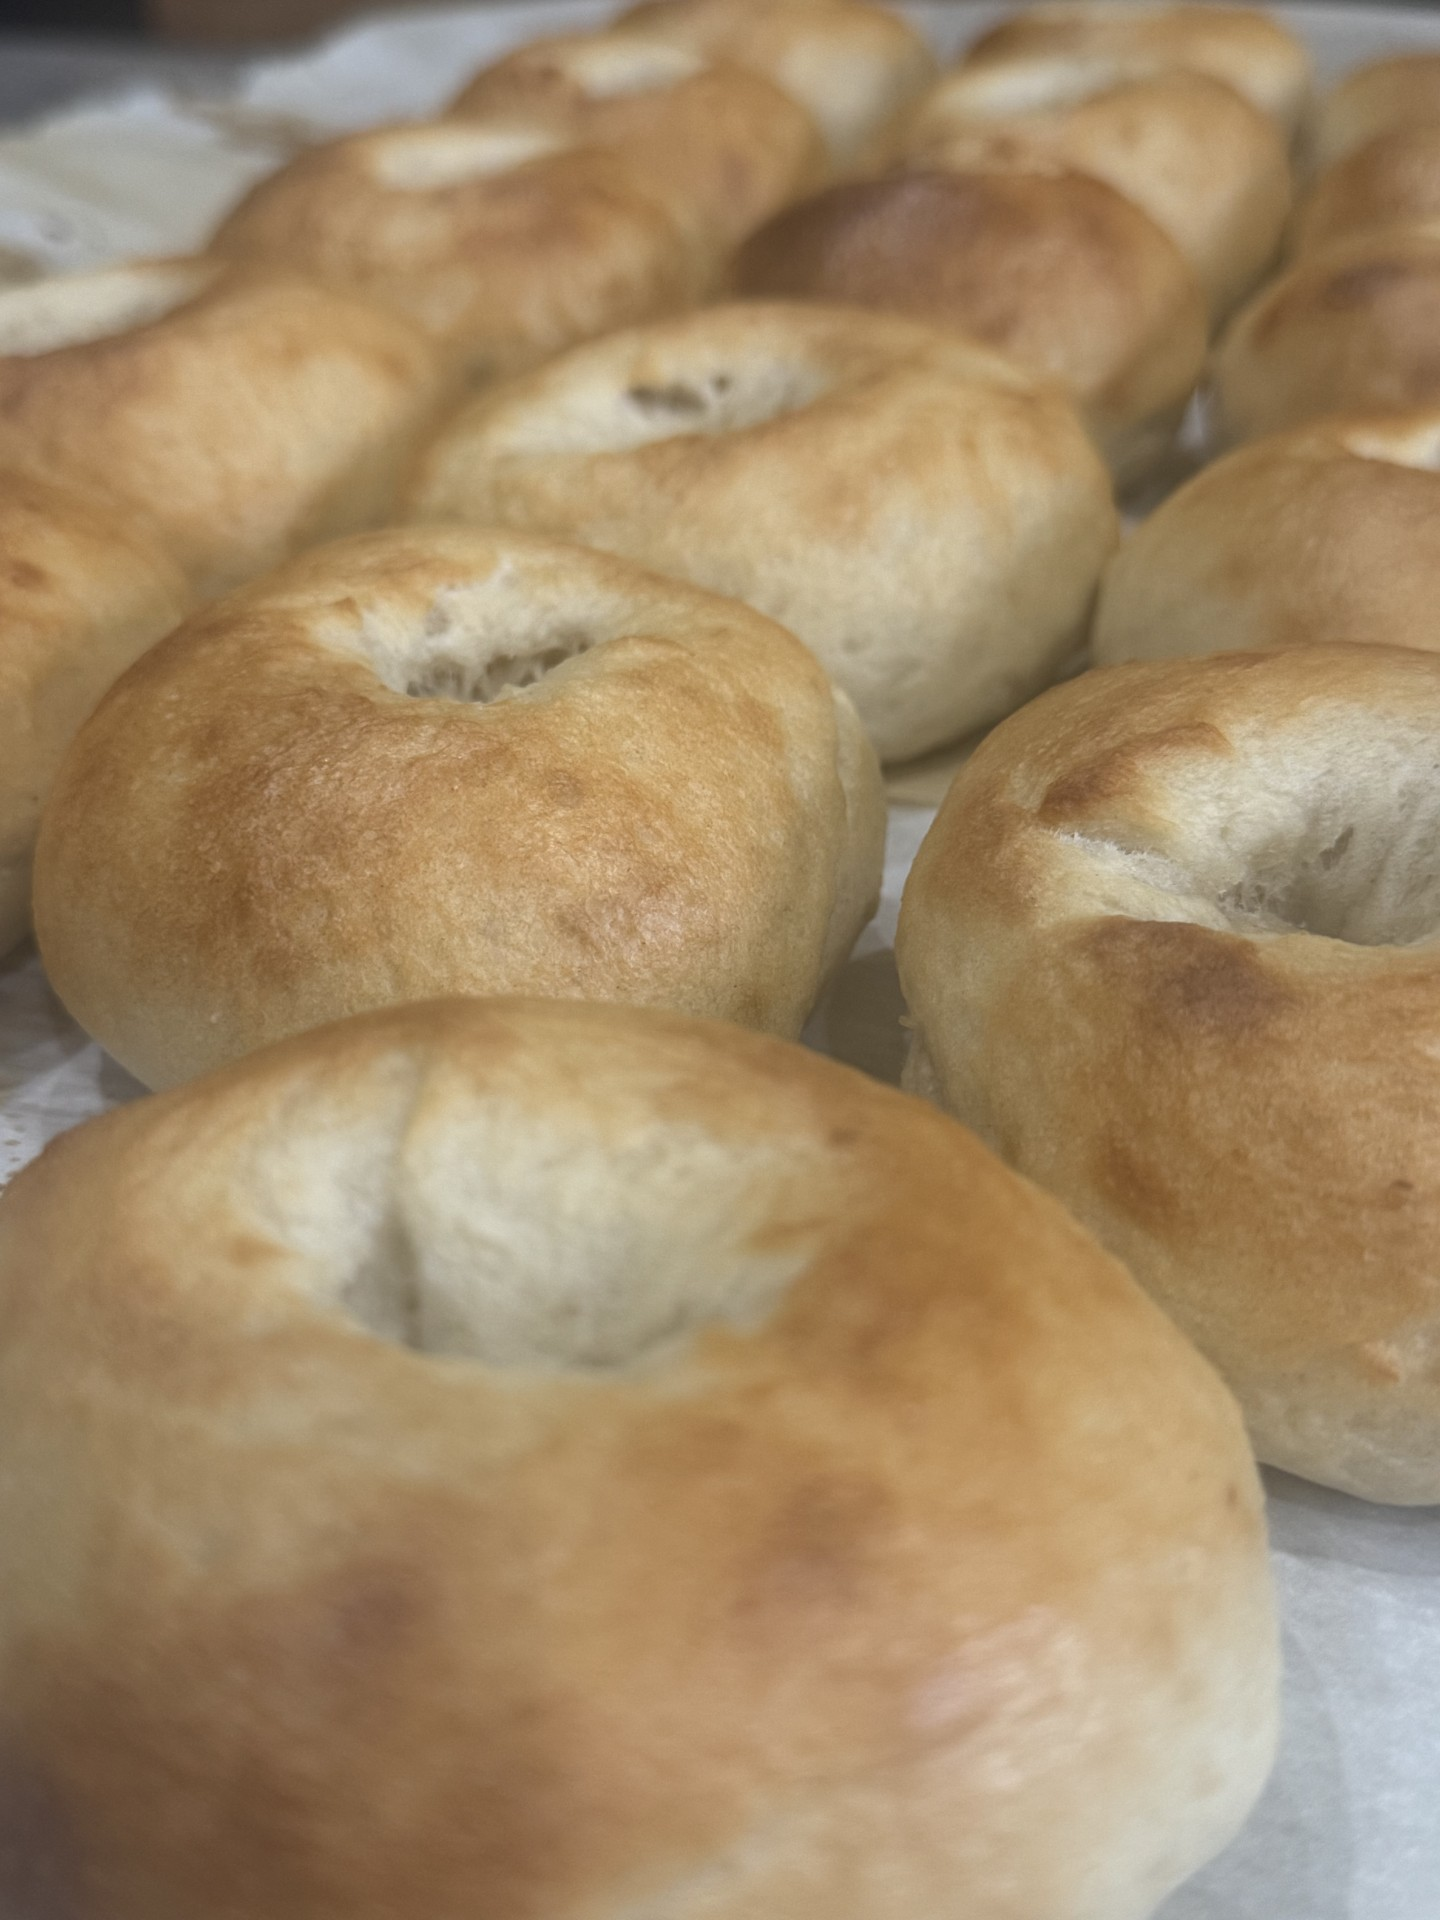
Once all the bagels have been in the water bath they are ready to bake! I bake these in a preheated oven for 20 minutes at 425 degrees.
Storage:
Eat these fresh or within 3-4 days. I prefer to cut mine once they have fully cooled and I place them in gallon Ziplock bags to freeze. *Pro Tip: Place parchment paper in between the halves before freezing so that they are easy to get apart for toasting.
Optional Toppings Prior to Baking:
You would want to add toppings as the bagels come out of the water bath, so it sticks.
· Shredded Cheese
· Everything Bagel Seasoning
· Sesame Seeds
· Sea Salt
· Anything else you want to try out!